Nuxt 3+Spring BootでREST API #6 JUnitでテストを書く
目次
- Gradleでテストコマンドを実行できるようにする
- テスト対象のロジッククラスを記述する
- テストコードを書く
- テストを実行する
Gradleでテストコマンドを実行できるようにする
apiプロジェクトのbuild.gradleに以下の記述を追加する。
testImplementation('org.springframework.boot:spring-boot-starter-test') {
    exclude group: 'junit', module: 'junit'
    exclude group: 'org.junit.vintage', module: 'junit-vintage-engine'
}
testImplementation 'org.mockito:mockito-inline:3.6.28'
testImplementation 'net.java.dev.jna:jna-platform:5.8.0'
testRuntimeOnly 'org.junit.platform:junit-platform-launcher'
全体はこんな感じ。
plugins {
    id 'org.springframework.boot' version '2.7.5'
    id 'io.spring.dependency-management' version '1.0.15.RELEASE'
    id 'java'
}

group = 'com.sample'
version = '0.0.1-SNAPSHOT'
sourceCompatibility = '17'

configurations {
    compileOnly {
        extendsFrom annotationProcessor
    }
}

repositories {
    mavenCentral()
}

dependencies {
    implementation 'org.springframework.boot:spring-boot-starter-web'
    compileOnly 'org.projectlombok:lombok'
    annotationProcessor 'org.projectlombok:lombok'

    testImplementation('org.springframework.boot:spring-boot-starter-test') {
        exclude group: 'junit', module: 'junit'
        exclude group: 'org.junit.vintage', module: 'junit-vintage-engine'
    }
    testImplementation 'org.mockito:mockito-inline:3.6.28'
    testImplementation 'net.java.dev.jna:jna-platform:5.8.0'
    testRuntimeOnly 'org.junit.platform:junit-platform-launcher'
}

tasks.named('test') {
    useJUnitPlatform()
}
rootのbuild.gradleのsubprojectsに以下の記述を追加する。
test {
    useJUnitPlatform()
}
全体はこんな感じ。
/*
 * This file was generated by the Gradle 'init' task.
 *
 * This is a general purpose Gradle build.
 * Learn more about Gradle by exploring our samples at https://docs.gradle.org/6.9.3/samples
 */
allprojects {
    group = 'com.sample'
}

subprojects {
    apply plugin: 'java'
    sourceCompatibility = '17'

    test {
        useJUnitPlatform()
    }
}
IntelliJ画面右のGradleタブよりbuildを実行。 Gradleタブよりtestコマンドが実行できるようになっていればOK。

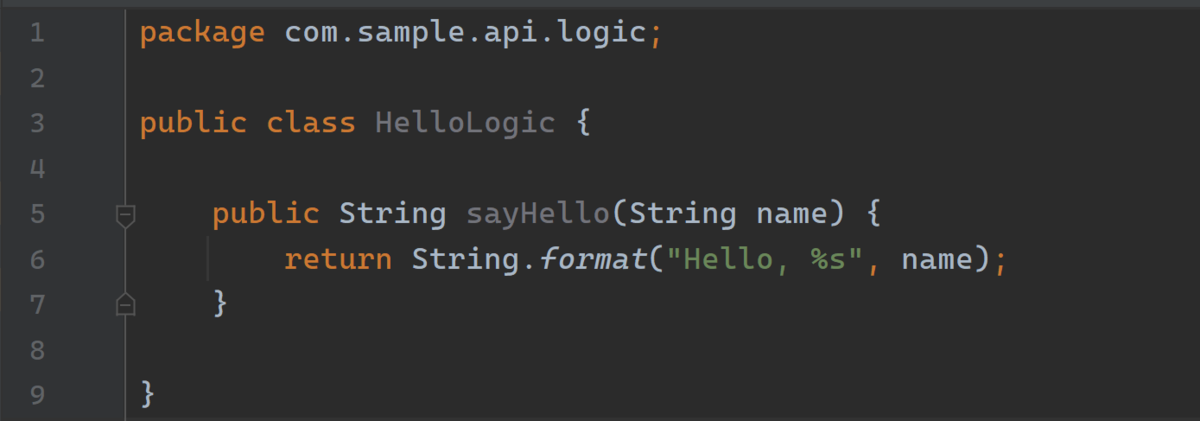
テスト対象のロジッククラスを記述する
logicパッケージを作成し、名前を引数で渡したら挨拶を返すシンプルなロジッククラスを作成。
テストコードを書く
最低限だけどこんな感じ。
package com.sample.api.logic;

import org.junit.jupiter.api.Test;

import static org.junit.jupiter.api.Assertions.assertEquals;
import static org.junit.jupiter.api.Assertions.fail;

public class HelloLogicTest {

    HelloLogic logic = new HelloLogic();

    @Test
    public void test_sayHello() throws Exception {

        try {
            String param = "Taro";
            String expected = "Hello, Taro";
            String result = logic.sayHello(param);
            assertEquals(expected, result, "sayHello()");
        } catch (Exception e) {
            fail(e.getMessage());
        }
    }
}
テストを実行する
先ほどのGradleタブからtestを選んで実行。

テスト成功。